Historic Bridge Visit Checklist: What to Bring, Check, and Photograph
A historic bridge rewards the visitor who arrives prepared. Not with a clipboard and a high-vis vest, but with a little planning: knowing whether the deck is open, whether the riverbank path floods after rain, and whether the light will be on the upstream face at four in the afternoon. The gap between a hurried snapshot from a car window and an absorbing hour spent reading a thirteenth-century arch is mostly logistics.
The checklist below works whether you are crossing a Roman aqueduct bridge, a cast-iron railway span, or a packhorse bridge with a parapet barely wide enough for a sheep. Adapt it to the structure in front of you rather than following it to the letter.
Verify Access Before You Leave
Old bridges change status more often than you would expect. A crossing that was open last spring may be closed for repointing, flood repair, or a conservation project that will wrap the entire structure in scaffolding for eighteen months. Check the managing authority's page the week you travel, not the month before. That might be a national heritage body, a county or municipal council, a national park authority, or a local comune.
Confirm three things in particular. First, whether the deck is a public right of way, a private estate road, or a toll crossing, since a few historic bridges still charge. Second, whether weight or use restrictions apply to anything you plan to bring — bicycles, horses, and vehicles are treated differently on fragile decks. Third, where you may legitimately park. Villages built around a medieval bridge rarely have a car park, and the nearest legal option may be a twenty-minute walk away. If you are travelling with someone who uses wheels, ask about steps, cobbles, and gradients in advance rather than discovering them at the abutment.
For coastal and tidal crossings, look up the tide table and the river level as well. Fords, stepping stones, and lower causeways can be impassable at high water, and mudflats that look firm from the parapet are rarely firm in person.
What to Bring
You do not need much, but the small items matter more than the expensive ones.
- Footwear with real tread. Worn cobbles, wet stone, and iron plates polished by two centuries of feet are genuinely slippery.
- A small torch or headtorch. Useful under arches, in toll houses, and on the walk back if the light goes earlier than expected.
- An offline map. Signal is patchy in river valleys and beneath deep cuttings.
- Water, a light waterproof, and sun protection. Exposed decks offer no shade, and weather turns on open water.
- Gloves in cold weather. Metal handrails on suspension bridges can be painful to grip in winter.
- A camera with a wide lens and something longer. The wide shot tells the story of the setting; the long lens reads the detail you cannot reach.
- A microfibre cloth and a polarising filter. Spray and river glare ruin more bridge photographs than bad composition does.
- Binoculars. For reading carved dates, founder's plates, and nesting birds from a respectful distance.
- A notebook and pencil, plus a power bank and a little cash for tolls, ferries, and the village café that keeps the toilets open.
Leave the chalk, the tracing paper, and the wire brush at home. Rubbings and cleaning attempts damage soft stone and historic ironwork, and a photograph records the same detail without touching anything.
Checks on Arrival
Give yourself five minutes at the bridgehead before you step onto the deck.
- Read every sign. Weight limits, drone restrictions, fishing rights, diving bans, and seasonal wildlife closures are usually posted at the entrance and nowhere else.
- Look at the walking surface. Missing planks, lifted cobbles, gravel washed over iron, and standing water all signal where to place your feet.
- Test the parapet with your hand, not your weight. Some historic balustrades are decorative rather than structural, and a leaning pose is a bad idea.
- Check the wind. Exposed suspension bridges funnel gusts; secure hats and glasses and keep hold of children at the towers.
- Identify your exit. Note where the path continues at the far end and whether it is passable, particularly if you are crossing to reach a trail.
- Assess any descent to the riverbank. Banks are often private, undercut, and prone to sudden rises when rain falls upstream, hours before you notice anything here.
If you have health or mobility concerns, or you want to cross private land for a particular view, sort out permissions with the managing authority beforehand rather than improvising on the day.
What to Photograph
Most visitors take one picture from the middle of the deck looking along it. That image rarely explains why the bridge matters. Build a small set instead.
The establishing view
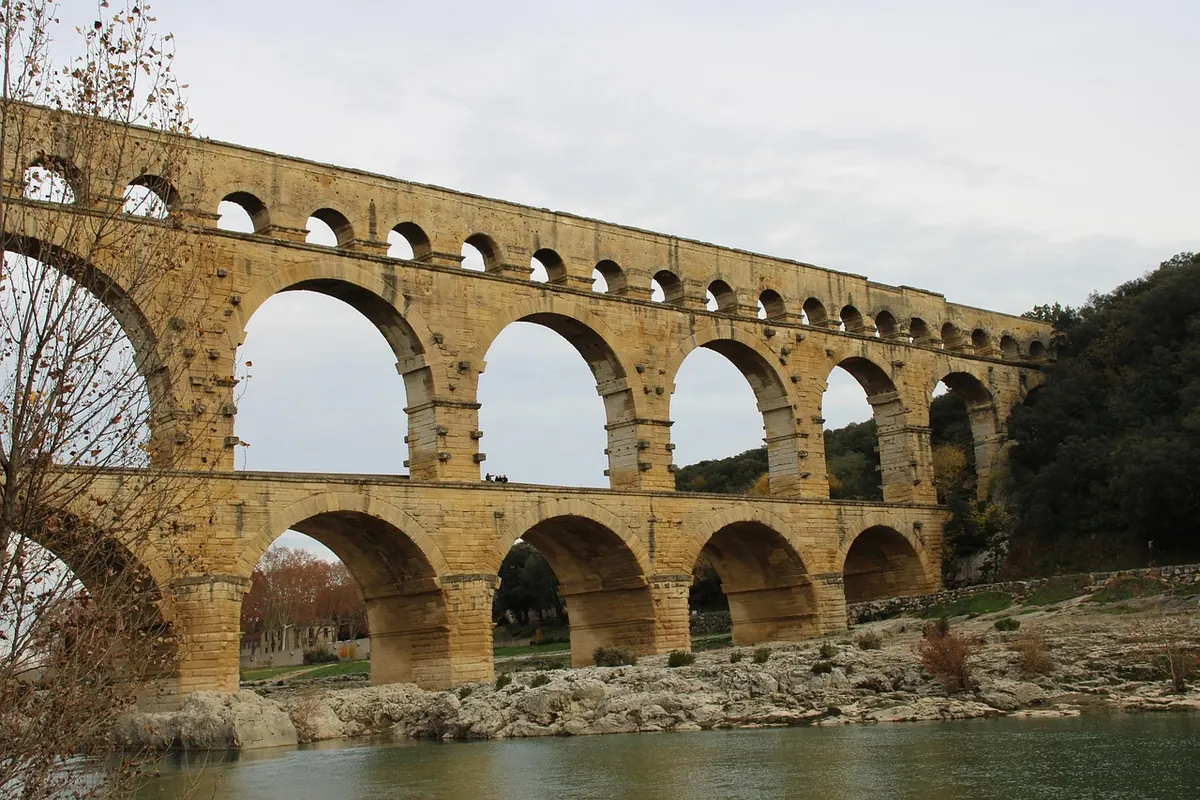
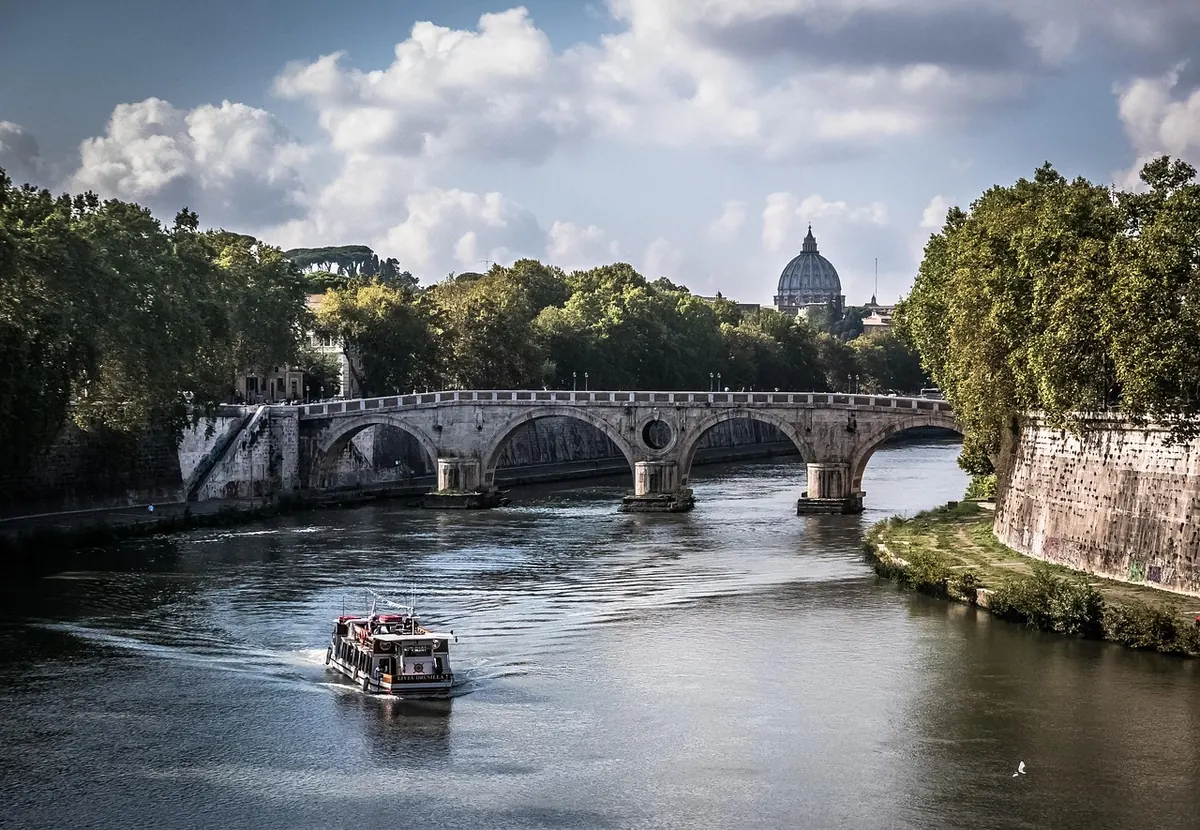
Get off the structure and onto the bank downstream or upstream, as low and as level as is safe. A side elevation with the horizon straight is the portrait of the bridge, and it shows the arch rhythm you came to see.
The structure itself
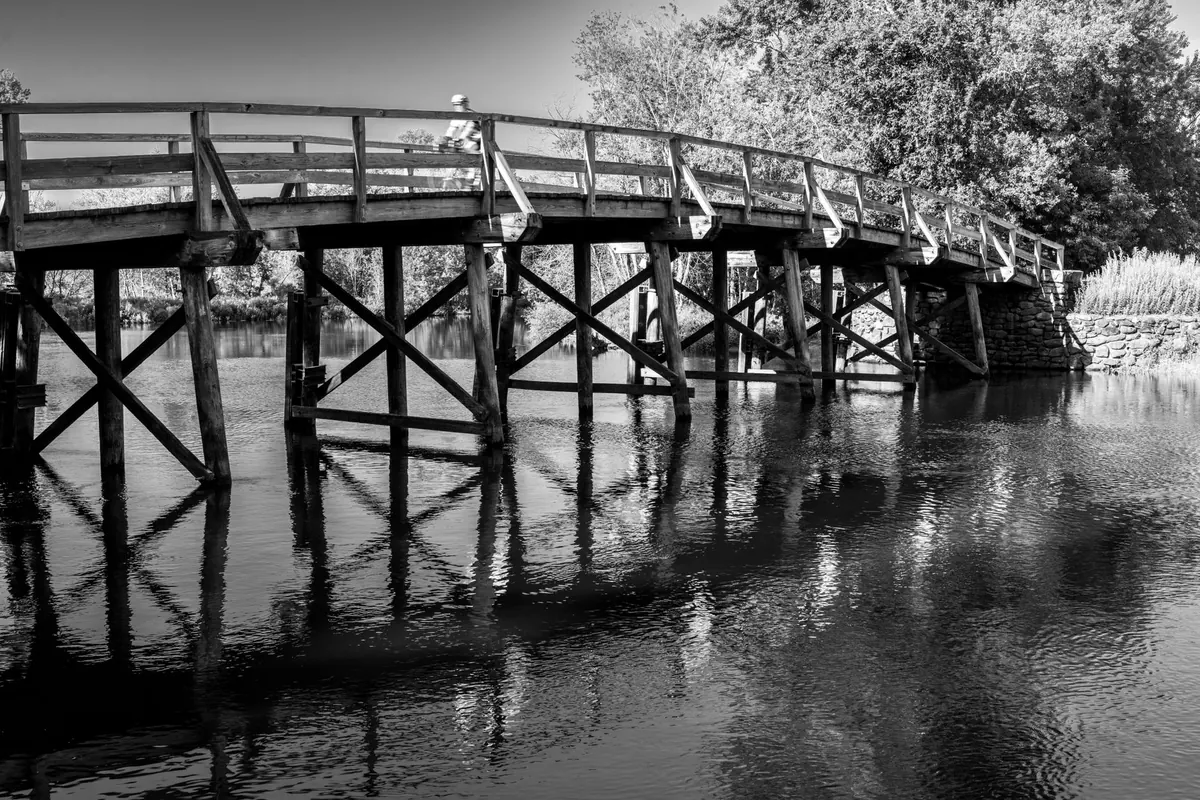
Photograph the underside from a safe, legal vantage point if one exists: the arch ring, the vault, the ribs, the space between spandrel walls. Low water in late summer often exposes piers and cutwaters that are invisible in spring.
The details that date it
Keystones, mason's marks, date stones, iron founder's plates, rivet patterns, and the worn hollow in a parapet where ropes or cart wheels rubbed for generations. These small frames carry more information than another panorama.
Scale and setting
Include a person, a bicycle, or a dog to give the span a human dimension. Then step back for the context: the mill, the toll house, the village street that the bridge was built to serve. If you visit more than once, repeat the same establishing shot each season. Four photographs taken from one spot across a year make a better record than forty random ones.
Time It for the Light
A north-facing elevation stays flat all day, so check a compass or a sun-position app before you commit to an afternoon. Overcast skies are often better than hard sun for stone, since flat light reveals texture without blowing out the highlights. Early morning gives you the deck to yourself and long shadows under the arches; midday in summer gives you contrast you cannot rescue later. Also check the local calendar for regattas, fairs, and races, which can close a deck or fill every decent viewpoints on the bank.
Behave Like a Guest
Many old bridges shelter bats in the joints and peregrines on the towers, and both are legally protected in many countries. Keep your distance, avoid flash near roosts, and respect temporary closures without debate. Read the drone rules for the site and the country before you launch anything; heritage sites frequently prohibit them. Never climb onto a parapet or out onto an arch for a better angle. Park where you are welcome, buy something in the village, and close gates.
The Night-Before Routine
Five minutes the evening before saves an hour of frustration. Reconfirm that the bridge is open. Check the weather, the wind forecast, and the tide if relevant. Put the three essentials by the door: grippy shoes, a torch, and a lens cloth. Decide on two photographs you actually want, and let the rest happen. Tell someone your route if you are heading down to a riverbank or off along a trail. Then arrive unhurried, read the signs, and give the bridge the hour it deserves.
Photo: Phil Evenden / Pexels