How to Photograph Bridges: A Beginner's Guide to Composition, Light, and Timing
Bridges are unusually generous subjects. They hold still, they don't blink, and they're already where you left them. Yet two photographers standing fifty metres apart on the same evening will come home with completely different pictures, and the gap between those pictures is rarely about the camera. It's about where they stood, what they chose to leave out, and whether they waited another twenty minutes. The method below is written for someone with a kit lens, a free afternoon, and no interest in carrying a bag of equipment up a hill.
Start With Your Feet, Not Your Lens
Before you raise the camera, walk the bridge from end to end. Then walk underneath it. Then find the bank and walk away from it until the structure starts to look like a shape rather than a place. This last move is the one most people skip, and it's the one that changes pictures most.
A satellite view of the river or valley will usually reveal three usable positions. Look for public footpaths, parks, car parks, and any bend where the water turns and gives you an angle on the flank rather than the face.
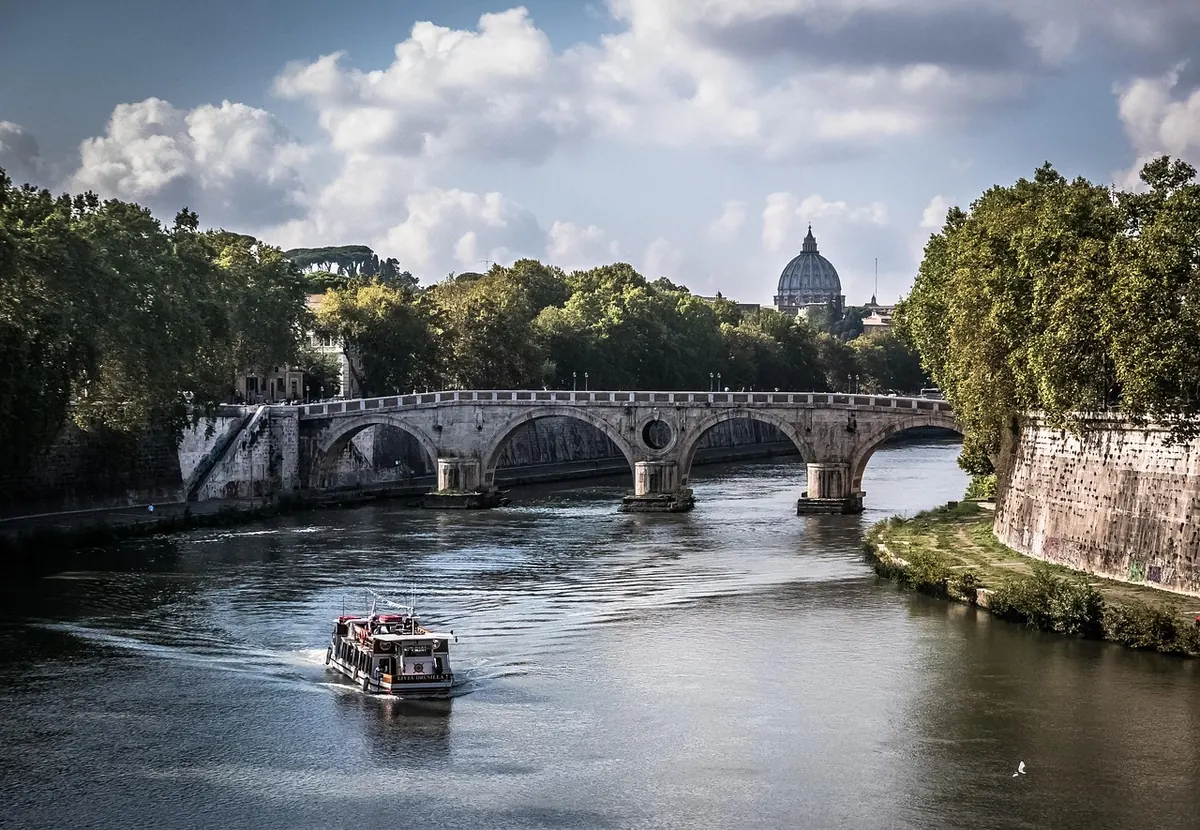
- The profile. Standing level with the deck or slightly below it, on the bank. Good for arches, trusses, and anything with rhythm. The Ponte Vecchio photographed from the upstream bank is a profile; from the middle of the bridge it's a street scene.
- The three-quarter view. From a neighbouring bridge, a quay, or a river bend. Shows depth, the receding line of piers, and how the deck sits on its supports.
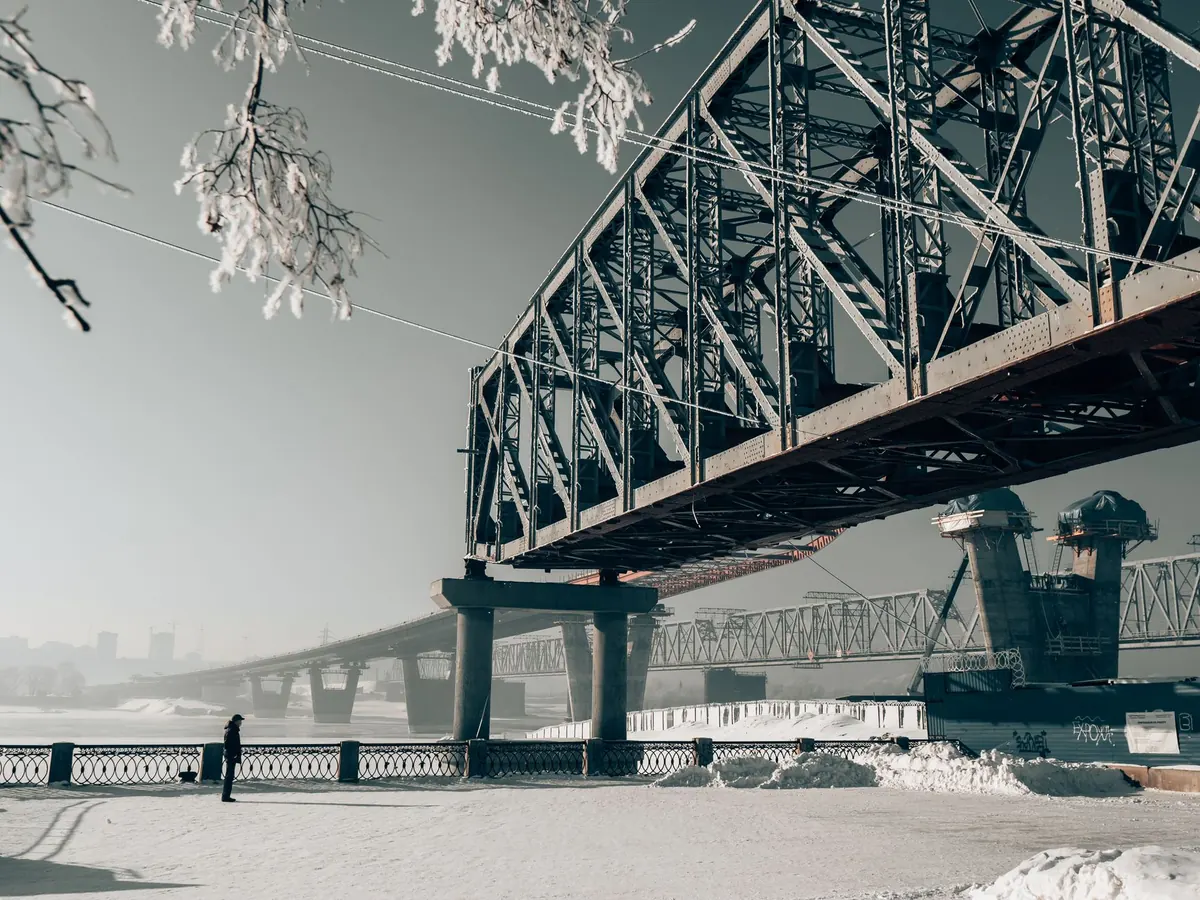
- The underside. From steps down to the water, a boat, or a low quay. Reveals the engineering most photographs ignore: bearings, ribs, rivets, the shadow pattern of the deck.
Resist the zoom to reach a view you could walk to. Distance flattens a bridge; moving closer and lower changes the relationship between structure and sky, and no focal length can fake that.
Framing the Span
Decide early whether the bridge is the subject or the setting. A portrait of the structure wants clean edges and repetition. A photograph of a bridge in a place wants context: a riverbank, a skyline, a road leading in.
Square on
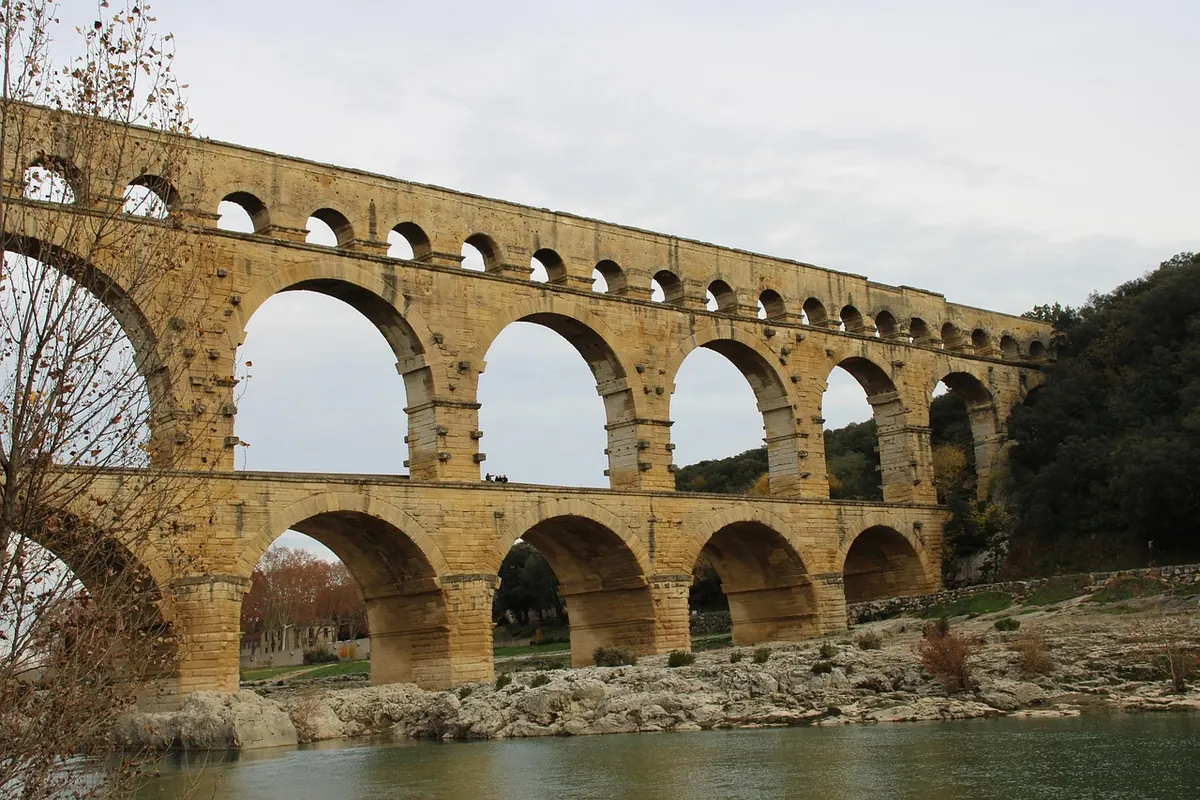
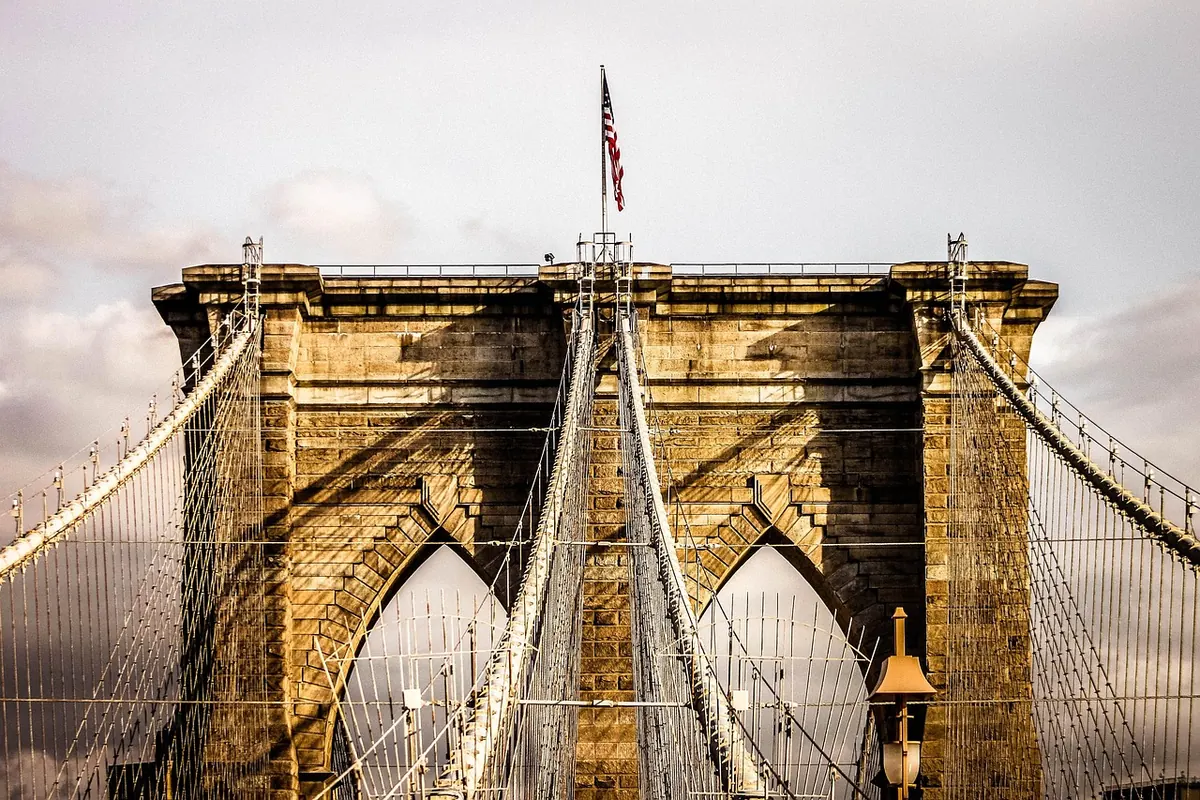
Standing perpendicular to the span and aligning the deck with the frame edge gives you symmetry, and symmetry suits masonry arches and suspension towers. Check the top rail against the top of the frame; a one-degree tilt that looks invisible on site will look like a collapsing bridge on a laptop screen. Straighten in the field if you can, and leave a little extra room so you can crop later without losing the ends.
Three-quarter
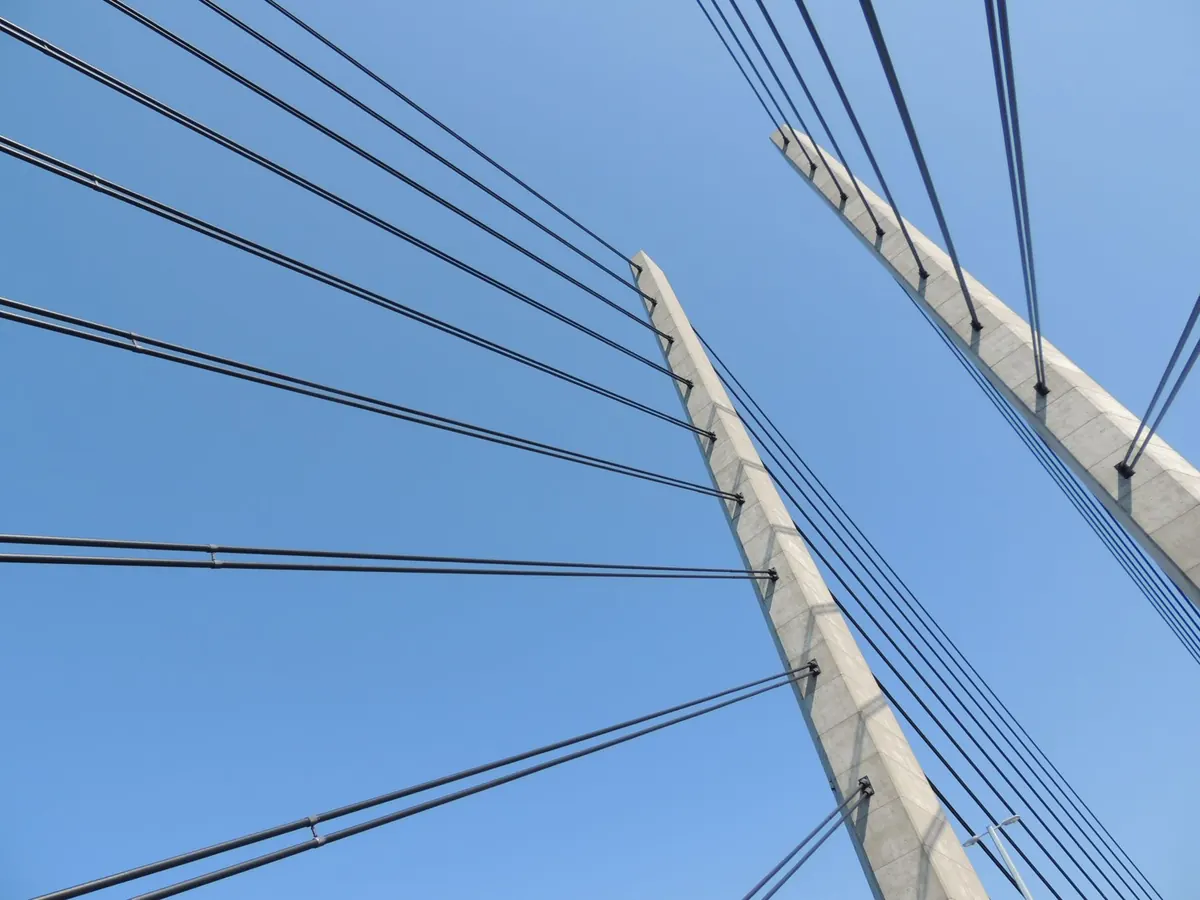
Turn thirty or forty degrees off perpendicular and the bridge grows a third dimension. Piers step back, cables cross, the deck runs to a vanishing point. This is the most reliable angle for trusses, cable-stayed spans, and anything with strong diagonals.
Give the eye somewhere to land
A long span can read as a grey stripe. Anchor it with something in the foreground: a bollard, a moored boat, a railing, a cyclist, a stone lion. The anchor needs to be small and dark, or small and bright — either way, it should be clearly not the bridge. Then check your edges. Cutting a pier in half at the frame border is the most common avoidable mistake in bridge photography.
Reading the Light
Stone likes raking light and hates noon. Steel likes contrast and silhouettes. Concrete likes overcast, which hides its stains and flatters its geometry. Knowing which material you're pointing at saves a lot of standing around.
Low sun
An hour after sunrise and an hour before sunset, light comes in almost sideways. Every rivet, joint, and vaulted soffit throws a small shadow, and the structure suddenly has texture. Put the sun behind you and slightly to one side for stone. Put it in front of you and to one side if you want long, dramatic shadows across a deck.
Overcast
Flat light is underrated. It's the best condition for detail work under a bridge, for wet steel, and for anything where harsh shadows would eat the structure. Increase contrast slightly when editing and the grey sky becomes an asset rather than a blank.
Backlight and the blue hour
Shooting into the sun turns the bridge into a silhouette and the water into a sheet of light, which works beautifully for simple spans and badly for complicated ones. The reliable reward comes later: in the twenty to thirty minutes after sunset, the sky goes deep blue while street lamps and deck lighting come up warm. That contrast — cool sky, warm structure — is the most repeatable good photograph in this whole genre. Arrive early, set up, and keep shooting as the light drains.
One filter worth owning
A polariser cuts glare from water and wet stone and lets reflections come through. Rotate it slowly and watch the surface change; on a wide lens, check the sky for uneven darkening before you commit.
Timing: Water, Weather, and Traffic
The bridge doesn't move, but almost everything around it does. A quick check before you commit to an evening:
- Water level and flow. Still water gives clean reflections; fast water gives texture and mist. Both are useful, but they need different shutter speeds and different framing.
- Tide and season. A riverbank that's a wide mudflat at low tide can be a mirror at high water. Look at the waterline stains on the wall to see how much range you're dealing with.
- Weather fronts. The ten minutes before and after rain often bring the best sky of the day. Bring a cloth and a plastic bag; a wet lens ruins everything.
- Foot and road traffic. Pedestrian bridges are quiet at dawn, busy at midday. Roads over bridges give light trails after dark, but buses create gaps you'll have to shoot around.
- Movable spans. Bascule and lifting bridges open on schedules or on request. If you want the open position, check locally in advance rather than hoping.
Details and Scale
Step in close. Expansion joints, rivet lines, cable sockets, handrail brackets, the worn paint where ten thousand hands have gripped a rail — these are the photographs that show you actually looked. A macro or close-focusing lens helps, but a standard lens at its nearest focus and a low angle does most of the job.
Scale is the other essential. A bridge with no people in it is a diagram; a bridge with one person walking a third of the way along it is a place. Wait for someone. If nobody comes, use a bench, a lamp post, a boat, or a parked bicycle as your reference of human size.
If the bridge looks ordinary from the car park, walk five hundred metres. Composition is mostly a decision about distance.
A Field Routine Worth Repeating
Arrive at least forty minutes before you think you need to. Walk the full length of the bridge once with the camera down. Pick two viewpoints, no more, and commit to them properly rather than dashing between six.
- Set the camera to aperture priority, around f/8 to f/11, and base ISO. That's the sharp zone for most lenses.
- Shoot a frame, check the histogram, and adjust exposure compensation until the highlights aren't clipped. Skies blow out faster than you expect against dark steel.
- Bracket three frames a stop apart when the sky is bright and the structure is dark. One of them will be right.
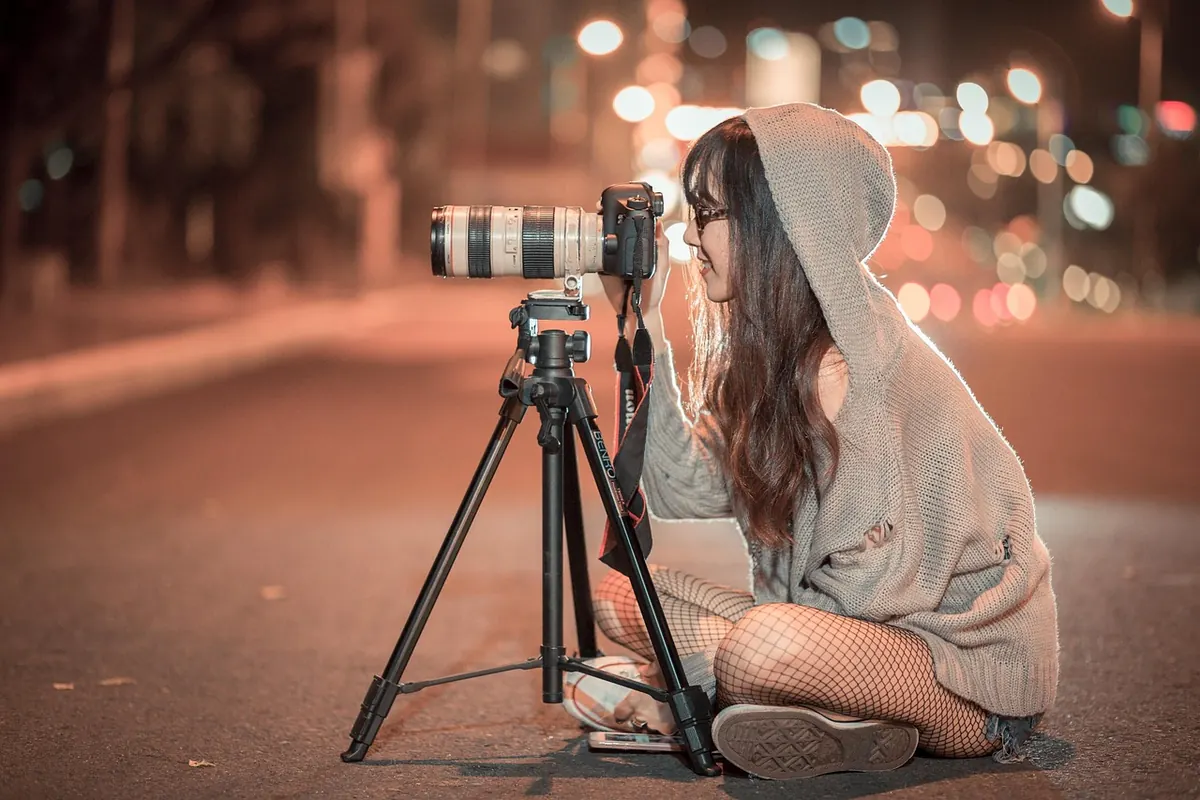
- Use a tripod and a two-second timer for anything after sunset. A railing or a wall works if you forgot the tripod; press the camera down, don't balance it up.
- Take the wide shot, then take three details, then one frame with a person in it. Then stop and look before packing up.
One last thing, and it matters more than any setting: stay out of cycle lanes, don't climb railings or walk on closed decks for a better angle, and ask before setting up on private ground. If you're flying a drone, check the local rules for that specific bridge and city, as restrictions vary widely and are enforced. The best bridge photographs come from patience and good manners, not from getting somewhere you shouldn't be.
Photo: trinhkien91 / Pixabay